This tutorial walks you through the basics of controlling GalepX from the Windows command prompt, using the remote.exe program to send scripts to GalepX. For production programming, you can control GalepX from your software either by directly sending socket commands, or by using ShellExecute to call remote.exe with script command line parameters.
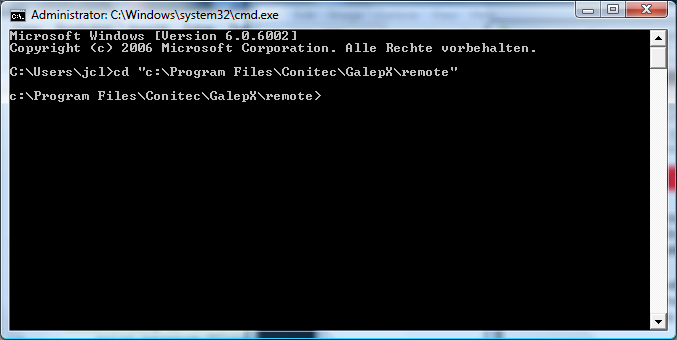
The first thing we're doing is connecting our GALEP-5/5D programmer using a script. We can see in our scripts list that we already have a script for this: connectDevice.gxs in the scripts\programmer subfolder. It expects the programmer's IP address as command line parameter. We know the default USB-port IP address for GALEP-5 is 192.168.167.12, so we type at the command prompt:
remote scripts\programmer\connectDevice.gxs 192.168.167.12We call the remote.exe program with our script scripts\programmer\connectDevice.gxs as the first parameter and the IP address 192.168.167.12 as second parameter. Make sure that no GalepX messagebox is open - if it expects user input, it can't execute scripts - and hit [Return]. If we indeed have a GALEP-5 at that IP address connected to the USB Port, this is our reward:
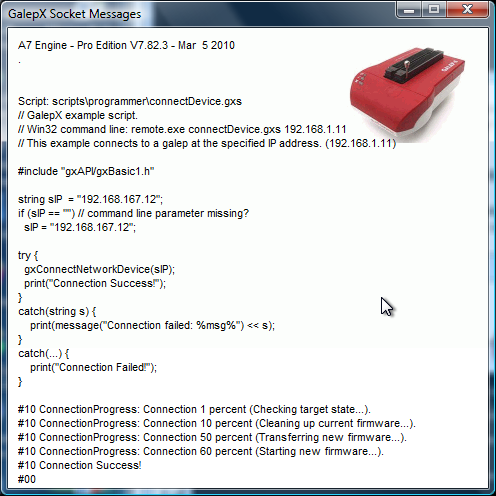
You'll also notice that GALEP's LED will change from red to green, and that it gets a "Yes" under Connected in GalepX's programmers list. You can find a description of the available script commands in this manual.
Now we're going to load a previously saved project and program it. For this, obviously, we have to create a project first:
Now we need a script for loading and programming a project. But there is a problem: when we look into the available scripts, we see a script that loads a project (document\loadProject.gxs) and a script that programs it (action\startProgramAndWait.gxs). But we have no script that does both! This leaves two options:
In this case, the second approach makes more sense - putting together scripts is pretty straightforward. Here are our two scripts that we have to combine:
//loadProject.gxs
#include "gxAPI/gxBasic1.h"

if ("%1" == "")
  throw "Please specify a project file name!";

tGXImportFlags flags;
string sDocument = gxImportProject("%1", flags);
print(message("New created document is: \"%name%\".") << sDocument);
//startProgramAndWait.gxs
#include "gxAPI/gxBasic1.h"

string sDocument = "%1";

if (sDocument == "")
  sDocument = "document0";

gxStartAction(sDocument, "saProgram");

if (!(gxWaitAction(sDocument)))
  throw message("Action failed!");
And this is the result:
//loadProjectAndProgram.gxs
#include "gxAPI/gxBasic1.h"

if ("%1" == "")
  throw "Please specify a project file name!";

tGXImportFlags flags;
string sDocument = gxImportProject("%1", flags);
print(message("New created document is: \"%name%\".") << sDocument);

gxStartAction(sDocument, "saProgram");

if (!(gxWaitAction(sDocument)))
  throw message("Action failed!");
Please save this new script under the name "loadProjectAndProgram.gxs" in the remote folder. You can now start it from the command prompt:
remote loadProjectAndProgram.gxs result.log remote/Project.gxb
The result.log command line parameter causes program output to be stored in the log file, and closes the script output window on success (result code #00). The window stays open when the script fails. Note that the path to the project file must be given relative to the GalepX folder and with Unix style slashes '/'.
► latest version online