Entity movement
If your game shows more than a static screen, it must include code that moves the entities. You can use three methods if you want to move an entity (model, sprite or map entity):
Method 1 : Change its position directly;
Method 2: Use the c_move instruction to move the entity using collision detection;
Method 3: Use the physics engine to move the entity using forces and the laws of gravity.
Physics will be dealt with in a later workshop. Let's concentrate on the first two methods now.
1. Changing the position of an entity
I'd like to start talking about this method by mentioning that it is really simple, but it should be used only in rare cases. We have learned about the x, y, z position of an entity in the 8th workshop and now you should know how to change it. Start Lite-C, open script18 and run it.
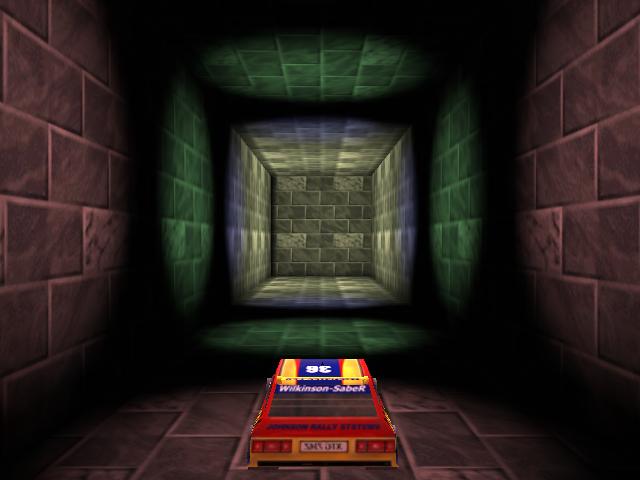
That's a simple level! It's nothing more than a narrow hallway, with few small lighted areas and a model entity that looks like a racing car.
Let's press the [S] key right away!

The car has started to move! It changes its brightness depending on the level of light in the level, which looks nice...
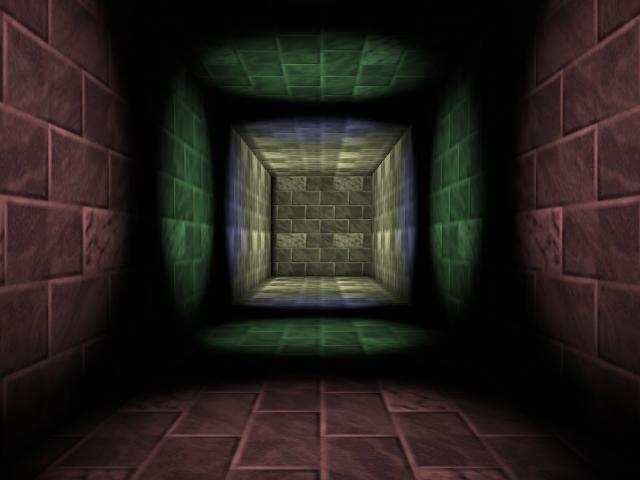
What is going on there?? The car has penetrated the wall and is disappeared! Well, life isn't always fair... let's see the relevant part of the script18 file:
///////////////////////////////////////////////////////////////////
function main()
{
  level_load ("work18.wmb");
}

action move_me()
{
  while (!key_s) wait (1); // wait until the player presses the [S] key
  while (1)
  {
    my.x += 15 * time_step; // move the entity along the x axis
     wait (1);
  }
}
The main function is really simple! In fact, I believe it's the most simple we've seen so far. Apparently, the magic is in the move_me action. This action was already attached to the car model in the level editor, so we don't need to bother about creating and placing that entity in the level.
action move_me()
{
while (!key_s) wait (1); // wait until
the player presses the [S] key
...
You've learned how to work with the keyboard! The while loop above will wait until the player presses the [S] key on the keyboard. The "!" is a logical operator which reverses the meaning of the following comparison or expression. It is true if the expression that follows is evaluated to false, and vice versa. Thus, "!key_s" is true as long as the [S] key is not pressed. In this case, the "while" loop definition from workshop10:
while (some condition is
true)
// repeat the following instruction
(or several instructions in curly brackets)
would be translated like this:
while (key_s isn't pressed)
wait (1); // repeat this
instruction
Remember that a line of code ends with ";" so it doesn't matter whether we write the "wait (1);" on the next line or directly behind the comparison. Let's take a look at the second loop inside the action:
while (1)
{
my.x += 15 * time_step; // move the
ball entity along the x axis
wait (1);
}
This while loop changes the position of the car entity with a speed of 15 quants per tick, i.e. 15 coodinate units per time unit. You can try other values instead of "15" in order to increase or decrease the movement speed.
The first entity movement method is really simple: we change one or more entity coordinates (x, y, z) in a while loop and that's it! Let's pretend that our car is a mighty chopper that takes off at the end of the level; add a line of code (green) to the script18 file:
action move_me()
{
while (!key_s) wait (1); // wait until the player presses the [S] key
while (1)
{
my.x += 15 * time_step; // move the entity along the x axis
my.z += 3 * time_step; // move upward
wait (1);
}
}
Save the script and run it. Press [S] to start moving the car. It continues to move along the
x axis, but this time it increases its height (z) as well!
The bad news is that the car will now pass through the ceiling... Here's the main (and only) disadvantage when you change the coordinates of the entities directly: they will not care about the level geometry at all, because they don't perform any collision detection while they are moving. The entities can penetrate each other, can pass through walls, floors, ceilings, doors, etc. Nothing can stop them! That's a useful method if you plan to give one of your monsters the ability to pass through walls, but it's a useless "feature" if you are creating a normal game (but then again, what's "normal" these days?).
Important tip: Moving an entity by changing its x, y, z coordinates is really simple, but it shouldn't be used by the beginners. You have to know exactly what you are doing!
2. Using the c_move instruction
The c_move instruction moves an entity and performs collision detection during the movement. This means that our car will stop when it collides with the walls, with the ceiling, with other entities and so on, which is a good thing. Start Lite-C, and then open and run script18_2:
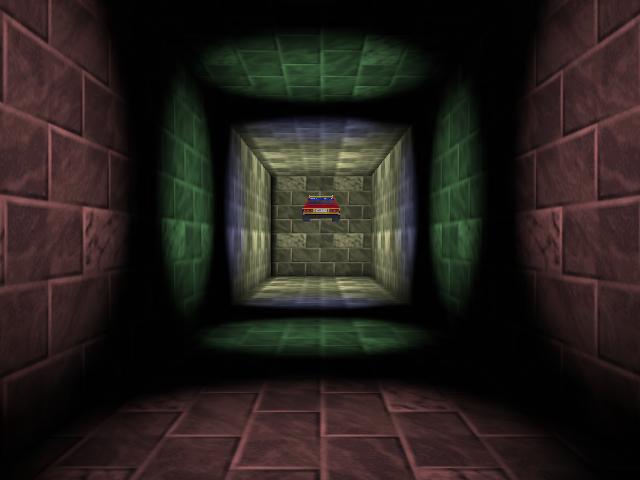
Nothing new so far, so let's press the [S] key now! The car is moving on the x and z axis, just like before. I think that it is going to hit the ceiling sooner this time...

Guess what? The entity has hit the ceiling, but it hasn't penetrated it; more than that, it has continued to glide along the ceiling until it has stopped at the end of the hallway! Is this true entity movement or what?
If you think that the code that does all these exciting things is complicated, you are wrong. Here's the relevant part of script18_2 file that moves the car using c_move:
action move_me()
{
   while (!key_s) wait (1); // wait until the player presses the [S] key
   while (1)
   {
     c_move(me, nullvector, vector(15 * time_step, 0, 4 * time_step), GLIDE);
     wait (1);
   }
}
A single line of code has changed - the line that uses the new c_move instruction:
c_move (me, nullvector, vector(15 * time_step, 0, 4 * time_step), GLIDE);
The general form of c_move is listed below:
c_move (entity_name, relative_speed, absolute_speed, movement_type)
I know that the line above looks pretty complicated but I promise to explain every term:
- c_move is the name of the instruction that can move any entity and performs collision detection during the movement. Every time you need to move an entity that can collide with the level geometry or with other entities you have to use the c_move instruction. Need movement code for the player, a monster, any vehicle, a ball, and so on? Then you'd better use c_move!
- entity_name is the name of the entity that must be moved. I have used the predefined me pointer, because I want to move the car - that's the entity that has the action named move_me attached to it. You can use any other entity pointer that was defined before using the c_move line of code.
- relative_speed is the speed that will move the entity in the direction (angles) pointed by the entity; I have used nullvector for relative_speed in my example from the script18_2 file. What's with this nullvector you ask? It's nothing more than a fancy name for a predefined vector (a set of three variables) that has all its components set to zero. Every time we use nullvector, the engine will understand that we are feeding it with a series of zeros. You can use nullvector or vector(0, 0, 0) - it won't matter, because the engine will understand the same thing: it must ignore the relative speed of the entity.
- absolute_speed is the speed that will move the entity in an absolute direction, without using the current direction (angles) pointed by the entity. I have used vector(15 * time_step, 0, 4 * time_step) here, which means that the ball will move with a speed of 15 quants per tick along the x axis, 0 quants / tick along the y axis and 4 quants / tick along the z axis. As you can see, vector (15 * time_step, 0, 4 * time_step) creates a temporary vector without a name, but this vector acts like 3 vars that have different x, y and z values.
- movement_type sets the type of the movement that will be performed for as long as the c_move line of code is executed. I have used GLIDE in my example, but there are many other possibilities listed in the reference manual. Let me describe a few of them for you right now:
a) GLIDE - the entity will glide along the walls and other entities if it collides with them;
b) IGNORE_PASSABLE - ignores (passes through) all the blocks and entities who have their PASSABLE flag set;
c) IGNORE_MODELS - ignores (passes through) all the models, even if they aren't PASSABLE.
You can combine these options by or'ing them; GLIDE | IGNORE_PASSABLE will instruct the entity to glide along the walls and entities, passing through the blocks and entities that have their PASSABLE flag set.
I have fed your brain with a lot of information, so it is quite normal for you to feel a little confused. The scary part is the one that talks about relative_speed and absolute_speed, right? Let's pretend that we want to create a racing game:
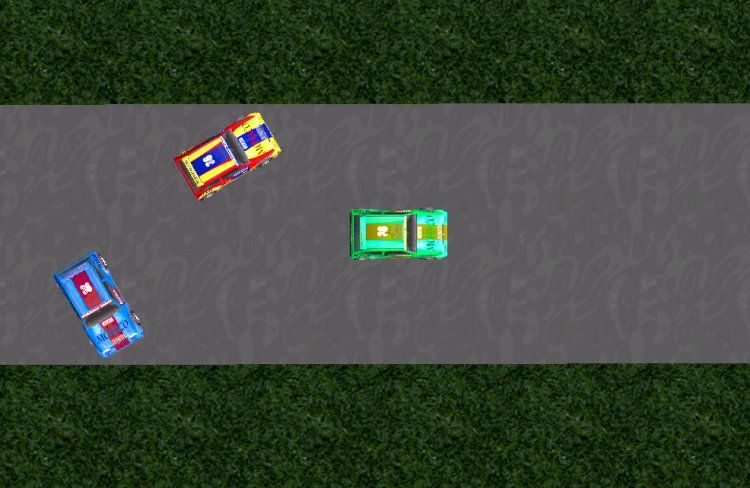
Now take a good look at the blue car. If I would write an action that looks like this (I'm omitting time_step for simplicity):
action blue_car_1()
{
while (1)
{
c_move (me, nullvector, vector(3, 0,
0), GLIDE);
wait (1);
}
}
the blue car would move just like in the picture below:

Now why did that happen? Well, we are only using absolute_speed, and vector(3, 0, 0) tells the car to move along the x axis, because only the x component of the vector (3) was set to a non-zero value. Guess what? The x axis points towards the right side of the screen, so that's where this blue car is heading.
If we would use an action that looks like this:
action blue_car_2()
{
while (1)
{
c_move (my, vector(3, 0, 0),
nullvector, GLIDE);
wait (1);
}
}
the blue car would move just like in the picture below:

This time the car moves using its relative_speed, so it will move in the direction pointed by its pan angle. You will want to use relative_speed most of the time in your projects. Need to create the code for a monster that chases the player? Rotate the monster towards the player (a few simple lines of code will do that) and c_move it using its relative_speed!
But why did the makers of lite-C invent both relative_speed and absolute_speed? Can't we use "some_speed" to rule them all?
Well, we could do that, but our code would look way too complicated sometimes. Let's imagine that you are creating a shooter game, and one of its episodes takes place in Siberia, which is a cold, snowy place. The level would be pretty easy to beat, but there's this cold wind blowing from north that pushes the player away. How would you code something like that? Something that pushes you away from your goal when you are standing still, or resists you when you are moving towards your goal (the north pole)? How would you say: "there's this force coming towards the player from the northern area of the map, and I'm the one that is going to write the code for it"? You've got it, absolute_speed will help. Here's the line of code that moves an entity towards the direction pointed by its pan angle and applies a negative force (just like a wind) coming from north:
c_move (my, vector(3, 0, 0), vector(0, -1, 0), GLIDE);
This entity (be it the player, a vehicle, etc) will move with 3 quants per frame in the direction given by its own angles, while suffering the effects of a negative speed (-1 quant per frame) on the y axis. The result is a combination of the two speeds (relative_speed and absolute_speed). You will want to use this combination whenever you want to add external forces (like gravity, drift and so on). How can you keep the player on the ground? Use a vector that has a negative z component for absolute_speed:
c_move (my, vector(5, 0, 0), vector(0, 0, -2), GLIDE);
I think that I have given you enough information about c_move, so it's time for your homework. I have created a brand new project for you, so you'd better spend some time with it! Start WED (if you have it) and open the homework18 level.
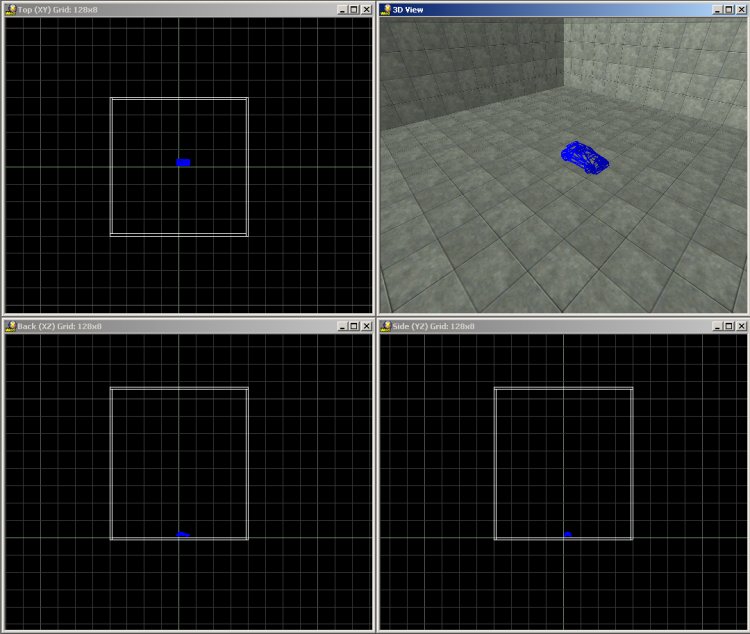
It's just a simple box with a car model inside it. When you click on the car with the right mouse button and select Properties, you might notice that I've checked its BBOX button. This is important for the collision detection and means that the car gets a collision hull in the shape of an elongated ellipsoid of roughly the car's size. This hull fits the car better than the default hull that is smaller and shaped like a cylinder. If you don't have WED, but you have Lite-C, you can achieve the same with the c_setminmax instruction. You can read more about collision detection in the reference manual.
Anyway, open Lite-C and then run the level using the home18 script file:
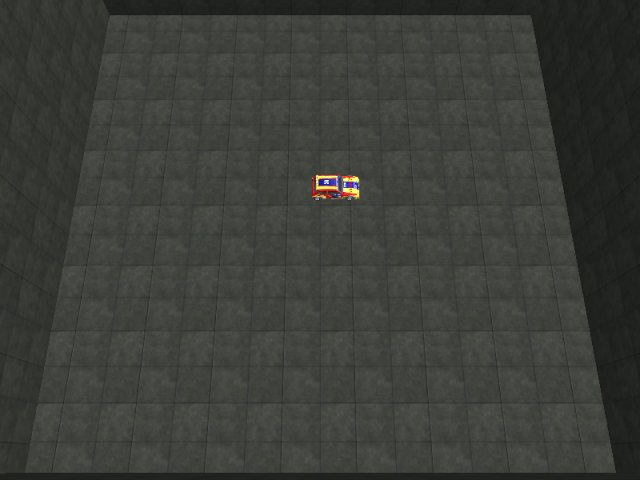
That tiny car can be moved using relative_speed. Press the [A] and [S] keys to change the pan angle of the car and then press the "Space" key to see it moving in the direction of its pan angle. Now here's how the home18 script looks like:
function main()
 {
    level_load ("homework18.wmb");
    vec_set(camera.x,vector(0,-480,1000)); // set a static position for the camera
    vec_set(camera.pan,vector(90,-68.0));  // set the correct orientation for the camera
 }

 action my_car()
 {
   while (1)
   { // move the car using relative_speed
     if (key_a)
       my.pan += 3*time_step; // increase the pan angle of the car
     if (key_s)
       my.pan -= 3*time_step; // decrease the pan angle of the car
     if (key_space) // press and hold the "Space" key to move the car
       c_move (my, vector(15 * time_step, 0, 0), nullvector, GLIDE);
     wait (1);
   }
}
I have set a good initial position and angles for the camera in main and the rest of the lines move the car using relative_speed. If you don't like my camera position you can anytime press the [0] (zero) key on your keyboard to free the camera and move it where you want it. This is a function built-in in the default.c file that we've included at the beginning of the script.
Your homework is to run this level over and over until you understand how c_move works. What happens if you replace the last c_move instruction with the one below?
c_move (my, vector(15 * time_step, 0, 4 * time_step), nullvector, GLIDE);
Maybe the car will start to fly, because the z component of its relative_speed is positive, but why don't you try that yourself? Play with this script until you are sure that you've mastered the c_move instruction; you will need to use this instruction in every game!
Now I'm going to take a break but I expect to find you here when I get back...
Next: Using the physics engine