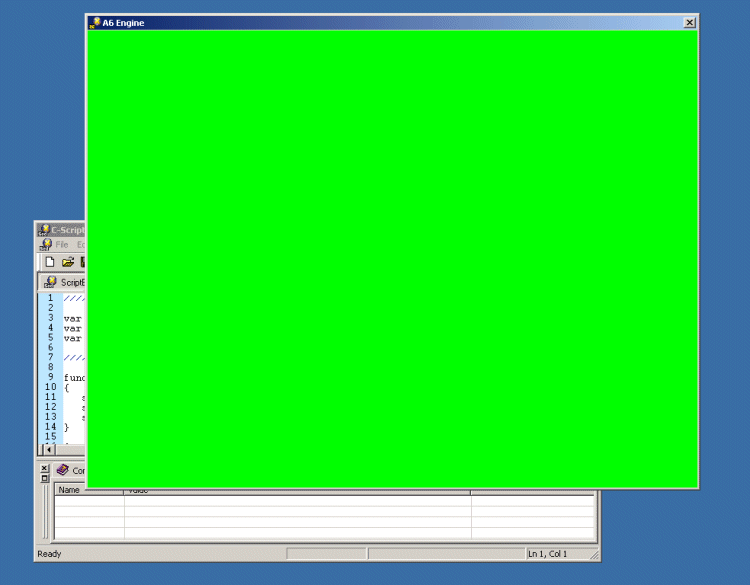
#include <acknex.h>
#include <default.c>
///////////////////////////////
var energy = 100;
function decrease_energy()
{
energy -= 40;
if (energy < 70)
vec_set(screen_color,vector(255,0,0)); // blue
if (energy < 30)
vec_set(screen_color,vector(0,0,255)); // red
if (energy == 0)
sys_exit(NULL);
}
function main()
{
screen_color.blue = 0;
screen_color.green = 255; // green
screen_color.red = 0;
on_d = decrease_energy;
}
I can see a var named energy and some weird stuff inside function main... what's with all those screen_color variables?
Maybe you remember screen_color from our second workshop; it's the vector that determines the background color. A vector is a special kind of variable that holds not one but several - usually three - values. Those values can be, for example, the x, y, z position of an object in our level or the blue, green, and red components of a color. You can use any combination of the 3 colors, with blue = 0, green = 0 and red = 0 generating a black color and blue = 255, green = 255, red = 255 generating a white color.
Ok, so we set a green background color in main because screen_color.green was set to its maximum value: 255. When we press the [D] key, function decrease_energy will run, so let's study it in detail:
function decrease_energy()
{
energy -= 40;
if (energy < 70)
vec_set(screen_color,vector(255,0,0));
//
blue
if (energy < 30)
vec_set(screen_color,vector(0,0,255));
//
red
if (energy == 0)
sys_exit(NULL);
}
As soon as we press the [D] key on the keyboard, energy decreases because we subtract 40 from it. If energy is below 70, the screen will change its color to blue because our vec_set function sets screen_color's first component (blue) to 255 and its green and red components to zero. Note that a color vector always begins with its blue component! If we press [D] again, energy becomes even smaller, below 30, so the screen changes its color to red. Finally, when energy is zero, the engine shuts down. Let's see if this function works as expected; run the script file:

It works! Let me press the [D] key on the keyboard right now!

That's cool! The screen has changed its color from green to blue, as expected! I have to press [D] again!

That's great stuff! Let's end this colorful show by pressing [D] one more time!
Hmm... I think I saw this color before. I know! Maybe the keyboard is damaged! Let me press [D] again, this time harder!
No, it didn't work... the engine refuses to shut down when energy is zero.
A program that doesn't work as expected has a bug. Let's try to fix this bug right now. Close the engine by pressing [Esc] (or clicking the [x] button). Now go back to Lite-C and then click Watch at the bottom of the screen:

This is the place that allows you to keep an eye on your variables and objects. You can see the values of the variables changing in realtime, and you can even set new values for the variables that are being watched while your game is running!
Let's run script16 again, but this time use Lite-C's DebugRun ![]() button, instead of TestRun
button, instead of TestRun ![]() (if you have the choice. Some
older Lite-C or SED versions only have a single
(if you have the choice. Some
older Lite-C or SED versions only have a single ![]() button for both). Let's now observe the engine window and the script editor at
the same time:
button for both). Let's now observe the engine window and the script editor at
the same time:
You should move the engine window (as well as the Lite-C's window) until you can see Lite-C's Watch area; if you have a good monitor you will have enough desktop space for that. Let's now add a watch! Click with the right mouse button in the empty Watch area, and select Add Watch from the pop-up menu. You will see a new window that looks like the one below:
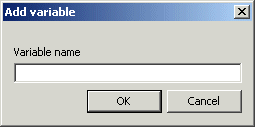
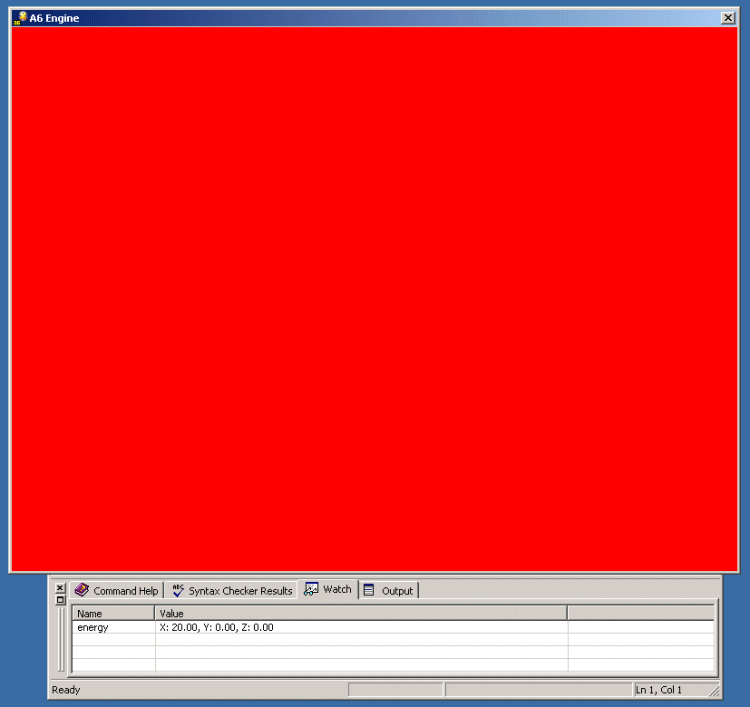
Put a variable name here! We only have one variable in script16, so type "energy" (without the quotes) and then press OK. The name of the variable and its current value will appear in the Watch area. We have just created a watch, a "spy" that shows us the value of the variable named energy.
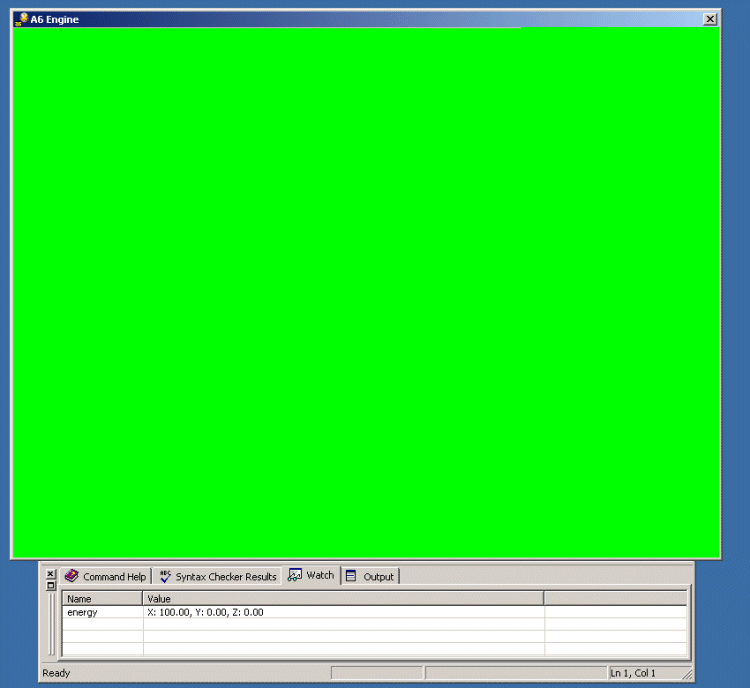
You can see that "energy" is set to 100 now; depending on whether you're debugging Lite-C or C-Script, you might see three values (x, y, z) instead of one. This happens because C-Script treats variables just like vectors, which consist of three separate components that can have individual values. If you "watch" a normal variable, like our energy, the value of the variable is stored in its first component. If you would have defined var energy[3] instead, you could have used energy.x = 100 for health, energy.y = 50 for armor and maybe energy.z = 20 for speed.
The program seems to run ok. Make sure that the engine window is selected, then press the [D] key once:
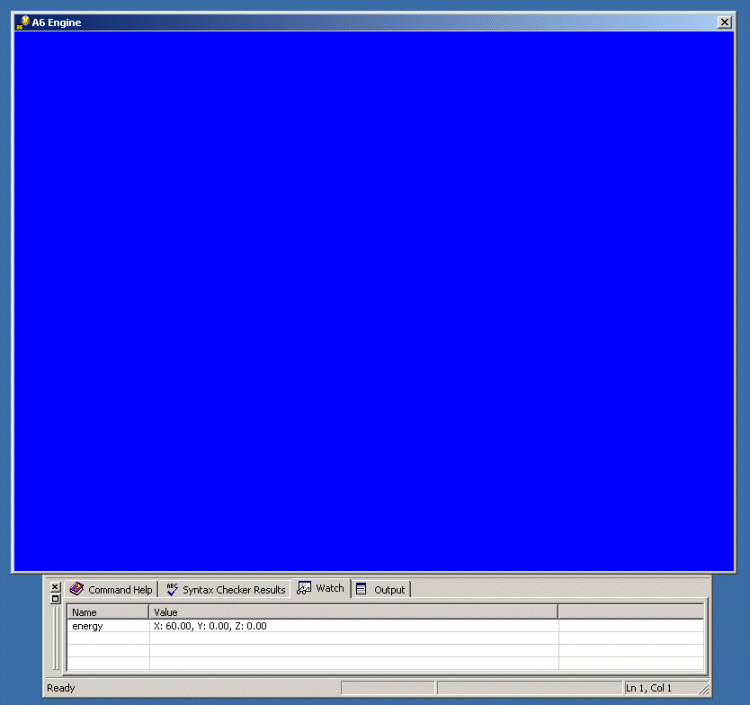
Energy was set to 60, which is ok, because the first line in function decrease_energy subtracts 40 from energy. Let's press [D] one more time:
Energy was decreased by 40 again, as expected. If we press the [D] key again, the engine should shut down, right?
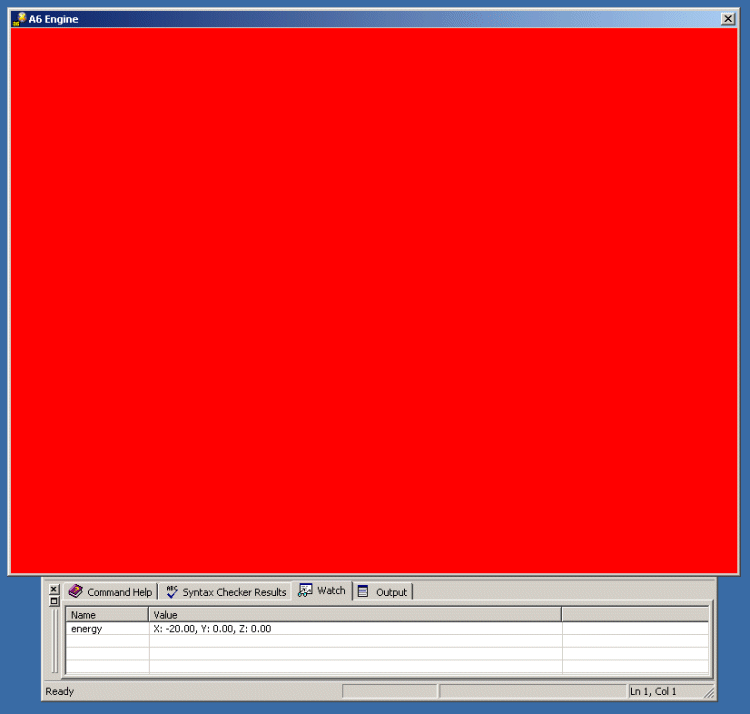
I see! The engine refuses to shut down because energy was set to -20 now, so this "if" branch will never run:
if (energy == 0)
sys_exit(NULL);
We need to change the code like this:
if (energy < 0)
sys_exit(NULL);
I'll let you make the change; my fix might not work and I don't want to be around when you test the new version of the program...